For my first 3D model in Maya, I chose a pretty easy(?) project. This design is based off an Ikea side table in their Lack series. I actually own two of these tables. I chose this because the structure is very simple, just a square piece for the table top and 4 rectangular legs. No bevels, no frills, just straight lines.
Before I did this, I went through the beginner video tutorials that ship with Maya. They were a little weird because they did not have any sound, so there was no narration at all, just arrows pointing at what they are trying to tell you. But it was a good intro to the basic tools in Maya.
Then I did the free Maya courses for creating static meshes for UDK at 3DBuzz. I did the Maya Crash Course, Maya Static Mesh Workflow and Maya Modeling. I like the 3DBuzz tutorials because they are very thorough and aimed at the very beginner. The Maya Crash Course explains all the tools and menu bars in Maya. It’s a little too thorough and I don’t think I retained all that information but it’s good to have a general overview of what Maya has to offer. The Maya Static Mesh Workflow was good too, but some of the information was dated. I had to figure out from other sources how to use the FBX plugin instead of the ActorX plugin. I also had a hard time importing the static mesh to UDK because the material wouldn’t automatically be attached but I solved it by using a .PNG file instead of a .TRG file. The Maya Modeling is the best one and it pretty much covered the basics of what I need for making static meshes in UDK.
I was originally going to make it to real world scale but decided to just make it close to real world scale and optimize the size for UDK (has to be a multiple of 2). I also decided to use cm instead of inches for compatibility reasons. The original table is 55 x 55 x 45 cm. I made my 3D model 56 cm x 56 cm and the side is 28 cm.
I basically just made a cube, made it the correct size. Then I split the vertices on each side into 3. I chose the faces at the corners and extruded them.
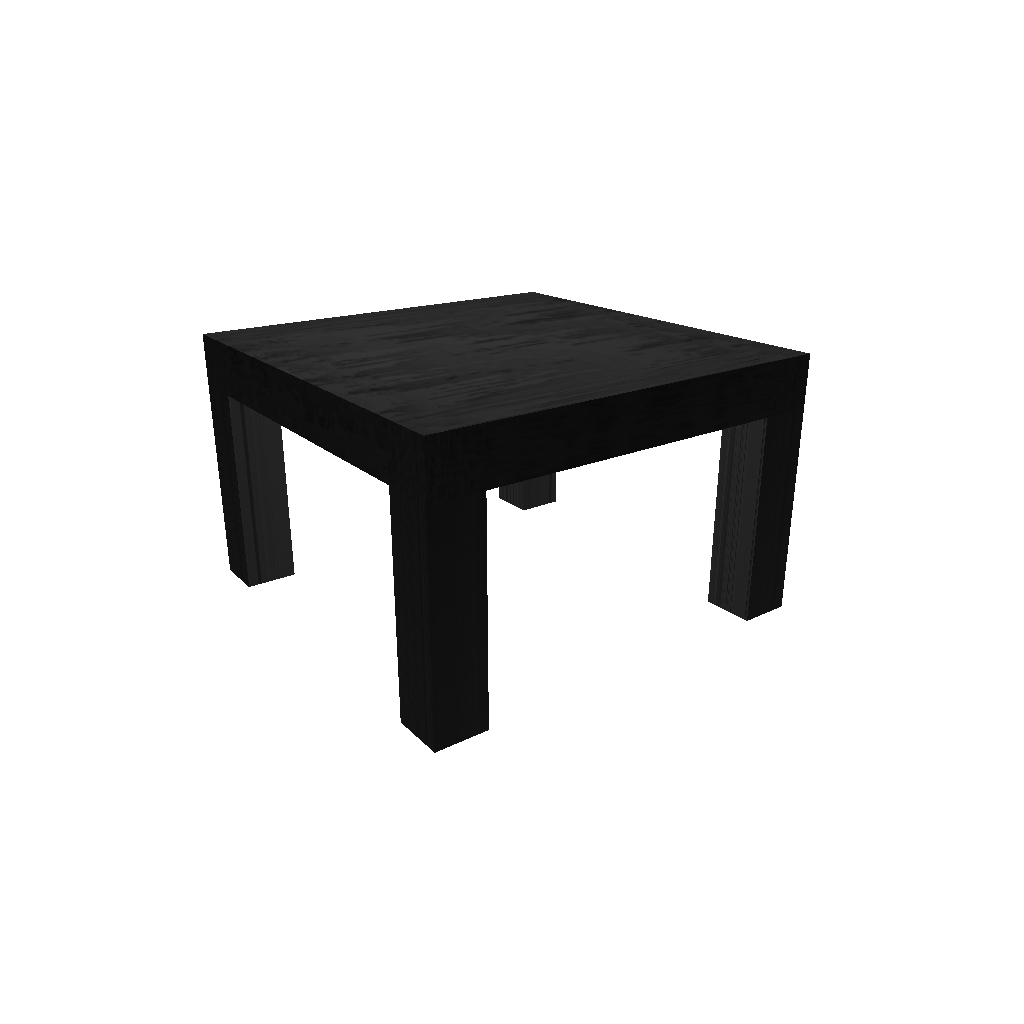
Here are some screenshots from my side table. I am a little bit unhappy with the texture that I made in Photoshop so I might just take a real photo of the table and use that as the texture.


Even though my 3D model is super basic, I decided to sell it online so that I can develop good work practices when it comes to making models. I used to sell photos on microstock sites and they definitely helped me figure out what the industry standards are for good, useable photos so I wanted to do the same thing for my 3D models. I opened an account at Turbosquid and followed their guidelines for selling 3D models.
I had to save my Maya project as a .ma and a .mb file and I also had to export an FBX file.
I had to create 5 screenshot thumbnails for it, 2 of which are wireframe thumbnails. I learned how to make the wireframe thumbnails from the TurboSquid wireframe tutorial.


I packaged all the files, including the texture file in a zip file and uploaded to TurboSquid. I had to enter keywords and polygon count (Display>Heads Up Display>Poly Count).
This 3d model is available for sale at Turbo Squid.
